This post is the first in a series of tutorials on building deep learning models with PyTorch, an open source neural networks library developed and maintained by Facebook. Check out the full series:
This series attempts to make PyTorch a bit more approachable for people starting out with deep learning and neural networks. In this post, weâll cover the basic building blocks of PyTorch models: tensors and gradients.
This tutorial takes a code-first approach towards learning PyTorch, and you should try to follow along by running and experimenting with the code yourself. We'll use the Anaconda distribution of Python to install libraries and manage virtual environments. For interactive coding and experimentation, we'll use Jupyter notebooks. All the tutorials in this series are available as Jupyter notebooks hosted on Jovian: a sharing and collaboration platform for Jupyter.
Jovian makes it easy to share Jupyter notebooks on the cloud by running a single command directly within Jupyter. It also captures the Python environment and libraries required to run your notebook, so anyone (including you) can reproduce your work.
Here's what you need to do to get started:
Install Anaconda by following the instructions given here. You might also need to add Anaconda binaries to your system PATH to be able to run the conda
command line tool.
Install the jovian
Python library by the running the following command (without the $
) on your Mac/Linux terminal or Windows command prompt:
pip install jovian --upgrade
jovian clone
command:$ jovian clone <notebook_id>
(You can get the notebook_id
by clicking the 'Clone' button at the top of this page on https://jvn.io)
Running the clone command creates a directory 01-pytorch-basics
containing a Jupyter notebook and an Anaconda environment file.
$ ls 01-pytorch-basics
01-pytorch-basics.ipynb environment.yml
jovian
:$ cd 01-pytorch-basics
$ jovian install
jovian
reads the environment.yml
file, identifies the right dependencies for your operating system, creates a virtual environment with the given name (01-pytorch-basics
by default) and installs all the required libraries inside the environment, to avoid modifying your system-wide installation of Python. It uses conda
internally. If you face issues with jovian install
, try running conda env update
instead.
$ conda activate 01-pytorch-basics
For older installations of conda
, you might need to run the command: source activate 01-pytorch-basics
.
$ jupyter notebook
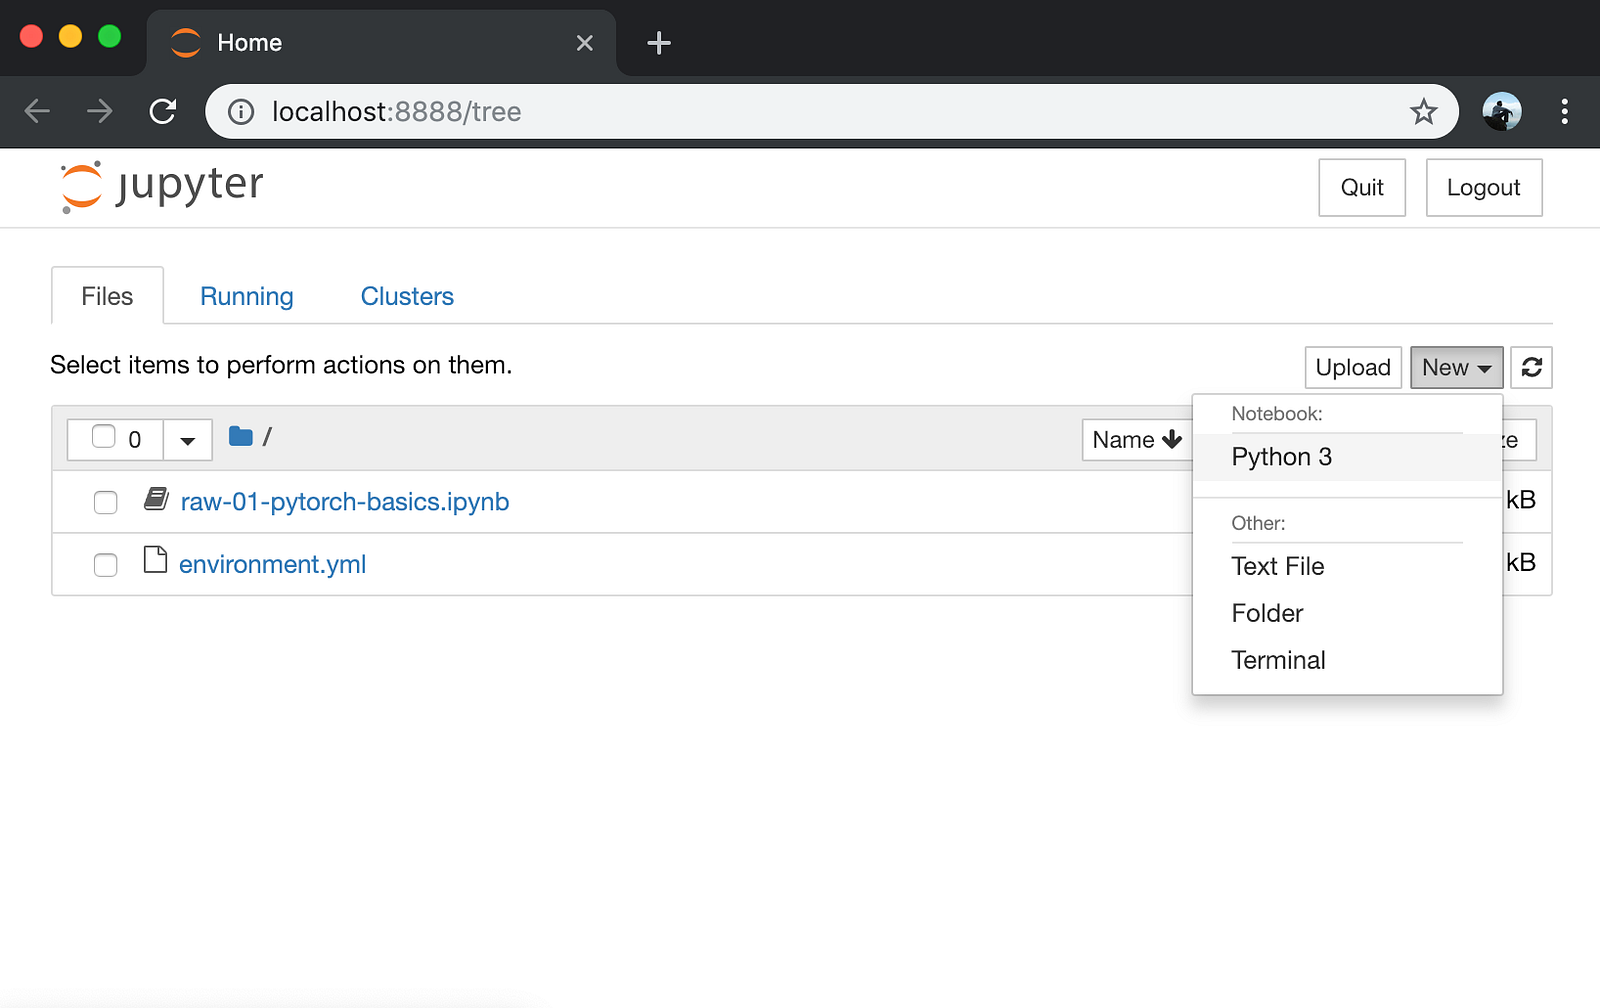
At this point, you can click on the notebook 01-pytorch-basics.ipynb
to open it and run the code. If you want to type out the code yourself, you can also create a new notebook using the 'New' button.
We begin by importing PyTorch:
import torch
At its core, PyTorch is a library for processing tensors. A tensor is a number, vector, matrix or any n-dimensional array. Let's create a tensor with a single number:
# Number
t1 = torch.tensor(4.)
t1
4.
is a shorthand for 4.0
. It is used to indicate to Python (and PyTorch) that you want to create a floating point number. We can verify this by checking the dtype
attribute of our tensor:
t1.dtype
Let's try creating slightly more complex tensors:
# Vector
t2 = torch.tensor([1., 2, 3, 4])
t2
# Matrix
t3 = torch.tensor([[5., 6], [7, 8], [9, 10]])
t3
# 3-dimensional array
t4 = torch.tensor([
[[11, 12, 13],
[13, 14, 15]],
[[15, 16, 17],
[17, 18, 19.]]])
t4
Tensors can have any number of dimensions, and different lengths along each dimension. We can inspect the length along each dimension using the .shape
property of a tensor.
t1.shape
t2.shape
t3.shape
t4.shape
We can combine tensors with the usual arithmetic operations. Let's look an example:
# Create tensors.
x = torch.tensor(3.)
w = torch.tensor(4., requires_grad=True)
b = torch.tensor(5., requires_grad=True)
We've created 3 tensors x
, w
and b
, all numbers. w
and b
have an additional parameter requires_grad
set to True
. We'll see what it does in just a moment.
Let's create a new tensor y
by combining these tensors:
# Arithmetic operations
y = w * x + b
y
As expected, y
is a tensor with the value 3 * 4 + 5 = 17
. What makes PyTorch special is that we can automatically compute the derivative of y
w.r.t. the tensors that have requires_grad
set to True
i.e. w and b. To compute the derivatives, we can call the .backward
method on our result y
.
# Compute derivatives
y.backward()
The derivates of y
w.r.t the input tensors are stored in the .grad
property of the respective tensors.
# Display gradients
print('dy/dx:', x.grad)
print('dy/dw:', w.grad)
print('dy/db:', b.grad)
As expected, dy/dw
has the same value as x
i.e. 3
, and dy/db
has the value 1
. Note that x.grad
is None
, because x
doesn't have requires_grad
set to True
.
The "grad" in w.grad
stands for gradient, which is another term for derivative, used mainly when dealing with matrices.
Numpy is a popular open source library used for mathematical and scientific computing in Python. It enables efficient operations on large multi-dimensional arrays, and has a large ecosystem of supporting libraries:
Instead of reinventing the wheel, PyTorch interoperates really well with Numpy to leverage its existing ecosystem of tools and libraries.
Here's how we create an array in Numpy:
import numpy as np
x = np.array([[1, 2], [3, 4.]])
x
We can convert a Numpy array to a PyTorch tensor using torch.from_numpy
.
# Convert the numpy array to a torch tensor.
y = torch.tensor(x)
y
Let's verify that the numpy array and torch tensor have similar data types.
x.dtype, y.dtype
We can convert a PyTorch tensor to a Numpy array using the .numpy
method of a tensor.
# Convert a torch tensor to a numpy array
z = y.numpy()
z
The interoperability between PyTorch and Numpy is really important because most datasets you'll work with will likely be read and preprocessed as Numpy arrays.
As a final step, we can save and commit out work using the jovian
library.
!pip install jovian --upgrade
Collecting jovian
Downloading https://files.pythonhosted.org/packages/96/3c/472d7af5c9724ae4832537bbd3101d28247eabe4c1ce07cf147fcafa1093/jovian-0.1.89-py3-none-any.whl (42kB)
|████████████████████████████████| 51kB 1.1MB/s eta 0:00:011
Requirement already satisfied, skipping upgrade: requests in /opt/conda/lib/python3.6/site-packages (from jovian) (2.22.0)
Collecting uuid (from jovian)
Downloading https://files.pythonhosted.org/packages/ce/63/f42f5aa951ebf2c8dac81f77a8edcc1c218640a2a35a03b9ff2d4aa64c3d/uuid-1.30.tar.gz
Requirement already satisfied, skipping upgrade: pyyaml in /opt/conda/lib/python3.6/site-packages (from jovian) (5.1.2)
Requirement already satisfied, skipping upgrade: idna<2.9,>=2.5 in /opt/conda/lib/python3.6/site-packages (from requests->jovian) (2.8)
Requirement already satisfied, skipping upgrade: urllib3!=1.25.0,!=1.25.1,<1.26,>=1.21.1 in /opt/conda/lib/python3.6/site-packages (from requests->jovian) (1.24.2)
Requirement already satisfied, skipping upgrade: certifi>=2017.4.17 in /opt/conda/lib/python3.6/site-packages (from requests->jovian) (2019.9.11)
Requirement already satisfied, skipping upgrade: chardet<3.1.0,>=3.0.2 in /opt/conda/lib/python3.6/site-packages (from requests->jovian) (3.0.4)
Building wheels for collected packages: uuid
Building wheel for uuid (setup.py) ... done
Created wheel for uuid: filename=uuid-1.30-cp36-none-any.whl size=6501 sha256=92006c2dd452ba5dd77e83b49b35b44b9af5804947baefc6c76c847ffeee9ae3
Stored in directory: /tmp/.cache/pip/wheels/2a/80/9b/015026567c29fdffe31d91edbe7ba1b17728db79194fca1f21
Successfully built uuid
Installing collected packages: uuid, jovian
Successfully installed jovian-0.1.89 uuid-1.30
import jovian
jovian.commit()
[jovian] Saving notebook..
Jovian uploads the notebook to https://jvn.io, captures the Python environment and creates a sharable link for your notebook as shown above. You can use this link to share your work and let anyone reproduce it easily with the jovian clone
command. Jovian also includes a powerful commenting interface, so you (and others) can discuss & comment on specific parts of your notebook:
Tensors in PyTorch support a variety of operations, and what we've covered here is by no means exhaustive. You can learn more about tensors and tensor operations here: https://pytorch.org/docs/stable/tensors.html
You can take advantage of the interactive Jupyter environment to experiment with tensors and try different combinations of operations discussed above. Here are some things to try out:
What if one or more x
, w
or b
were matrices, instead of numbers, in the above example? What would the result y
and the gradients w.grad
and b.grad
look like in this case?
What if y
was a matrix created using torch.tensor
, with each element of the matrix expressed as a combination of numeric tensors x
, w
and b
?
What if we had a chain of operations instead of just one i.e. y = x * w + b
, z = l * y + m
, w = c * z + d
and so on? What would calling w.grad
do?
If you're interested, you can learn more about matrix derivates on Wikipedia (although it's not necessary for following along with this series of tutorials): https://en.wikipedia.org/wiki/Matrix_calculus#Derivatives_with_matrices
With this, we complete our discussion of tensors and gradients in PyTorch, and we're ready to move on to the next topic: Linear regression.
The material in this series is heavily inspired by the following resources:
PyTorch Tutorial for Deep Learning Researchers by Yunjey Choi:
FastAI development notebooks by Jeremy Howard: